At the last Java Posse Roundup, I gave a lighting talk on "Thinking with box" where I outlined some fun I have had with cardboard with my daughter. I'll link to the video once it's uploaded (I'm looking at you +Carl Quinn) . Here are some of the steps, with some tips and tricks, that I did to make it. (I've meant to write this up for a while, but I finally got a little push from @Chris Cobb which put me over the edge.)
Step 0: Surf the web

Step 1: Build a Model
I'm fortunate to work at a company that has lots of spare TV boxes around, but I didn't necessarily know how to get them for myself, so I filed a Helpdesk ticket. They were fantastic in helping, they brought by samples to see exactly I was interested in. They even took a huge whiteboard out of a box, just to give to me. I had some great building materials, but I didn't want to waste any and I wasn't even sure if I had enough, so I built a model.


This proved helpful in designing the large straight pieces, and more importantly the angle for the bow.
Step 2: Cutting
 I'd say cutting cardboard is best done like drywall, where you score one side with subtle pressure, folding it, then cutting from behind. Before you score, I'd recommend getting a very long straight-edge and drawing a line where you're going to score, even if you're going to score against the straight-edge. I didn't have any rulers long enough, so I ended up using some wood scrap, which I'll talk about later. The cutting was primarily done with a utility knife.
Step 3: Attaching
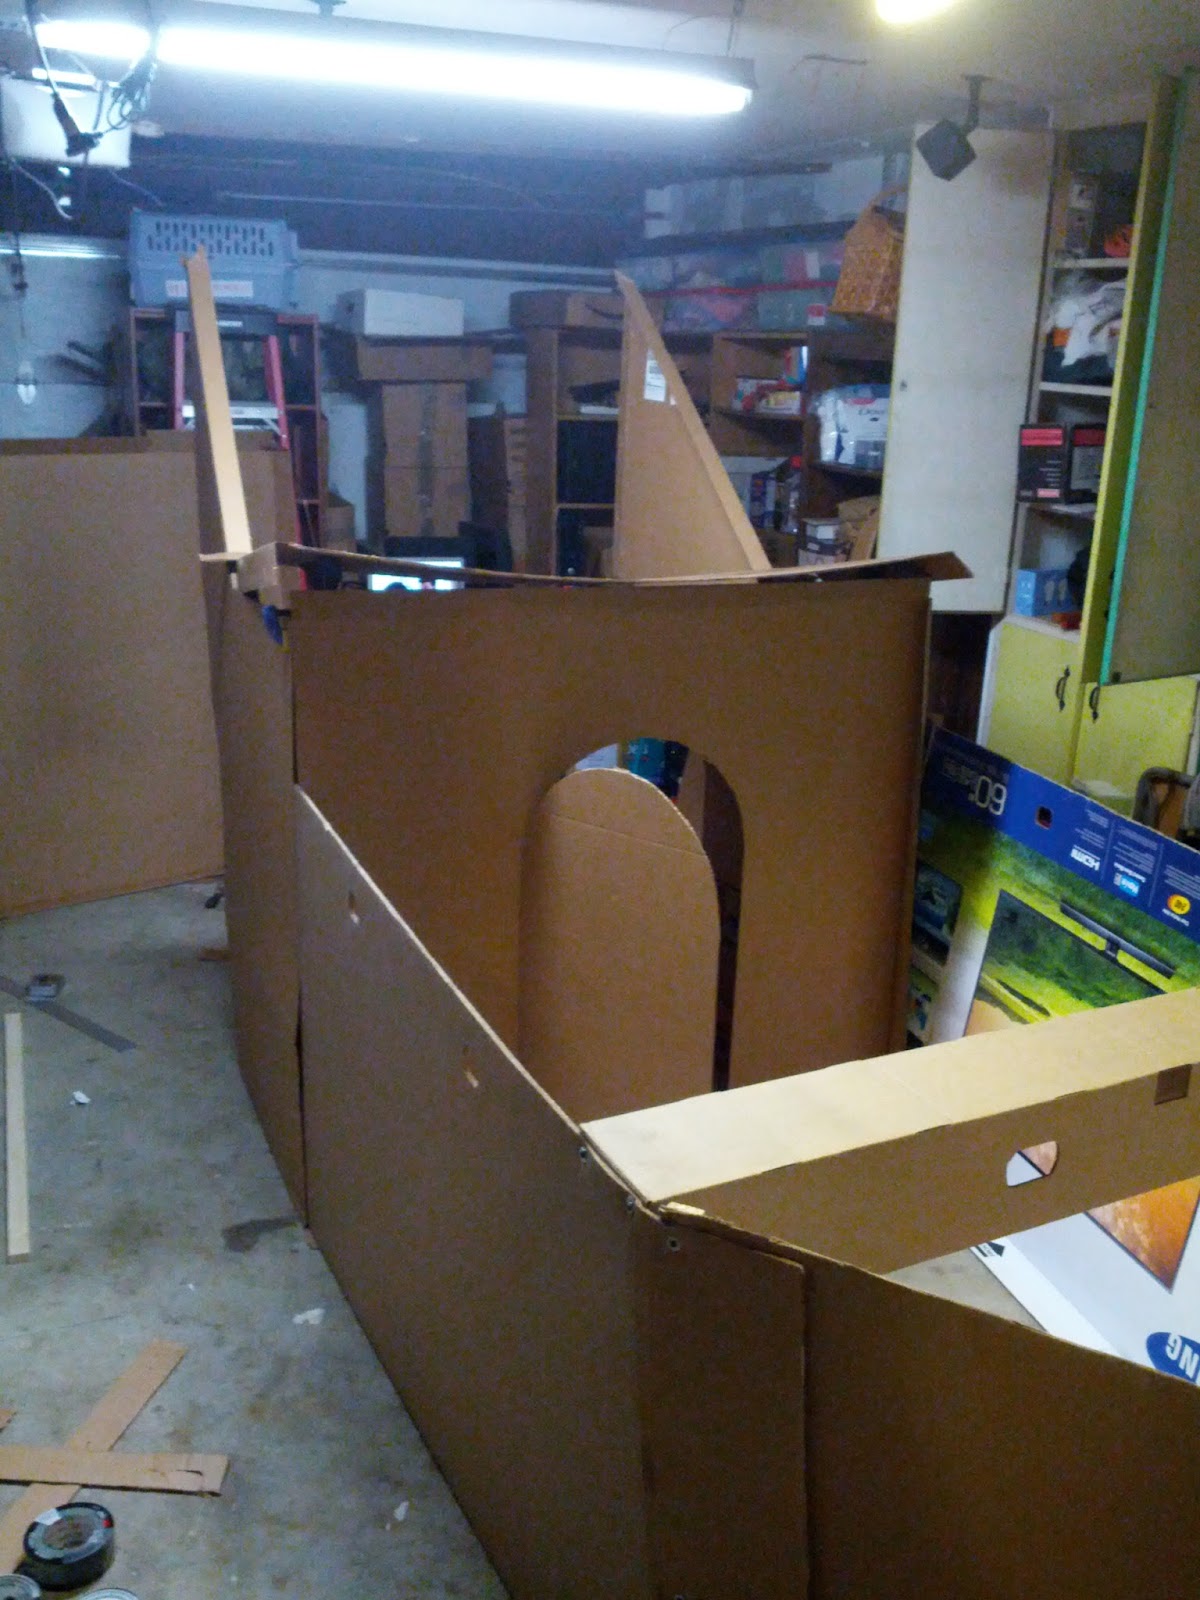
 The model showed me that I had to cut the bow as a trapezoid but once I got to real cardboard I learned that there more complex angles going on in three dimensional space. But I was close enough that I thought I'd just start attaching everything. The original idea was to just staple gun two pieces of cardboard, that was a horrible idea. I don't even know why I thought that would work. The additional stress on the bow make it clear that I'd need more support, so I went back to Home Depot and picked up some wood scraps which I could screw into. The best way to describe it was 1/2" x 1". It's no more than a $1 per 8 foot piece (wood is cheap in California). You can seen an example in the picture for the mast.
 I'd cut the strip to length, letting the little one pull down the chop-saw. To attach the cardboard, I put washers on a drywall screw then threw the cardboard into the wood behind it. The washers were necessary to prevent the screwhead from going through the cardboard. It was quite common for the screw to come through the wood, in which case I used a Dremil to cut it off the end sticking out. It wasn't perfectly smooth, but it was good enough for 4 year olds. If you zoom into the picture you might be able to see the washers and wood at the intersections between pieces.
Step 4: Laying out
I worked from the bow to the back, and I honestly didn't know how each part was going to work out until I tried. The model really helped.

I'd sometimes staple gun in between the screws to get a really good seal between pieces, but this probably wasn't needed.
 Step 5: Cutting Windows
I cut a single window, then used it as a template for the other windows. I found that the utility knife had a tendency to go straight, so I used an X-Acto knife for corners. The thickness of cardboard meant I had to make a few passes before it went through, but tracing a previous cutout made it easy to follow the path. I'd usually duct tape a previous cut where I wanted the next window, so that it wouldn't drift as I cut around it.
Step 6: Painting

At most home improvement stores, they have previously mixed paint which has been returned and is now on clearance. You can get a gallon of decent paint really cheap. We did find that Home Depot was selling these clearance items at full price, our theory is that people were abusing the system so they needed to stop selling them so cheap, so we went to Lowe's instead. We let our daughter pick any color they had there, and we picked something to complement it. She wanted purple, but they only had pink. Painting cardboard proved to be really straightforward.
Step 7: Finishing touches
At this point it was looking fantastic, but we had already pretty much taken the day off of work, so we thought to fancy it up a little. My wife cut a large H and I put duct tape around the edges. And anchor was made by stapling loops of paper together. A sail was just an old sheet, which had to be cut or else the ship would literally sail away.
